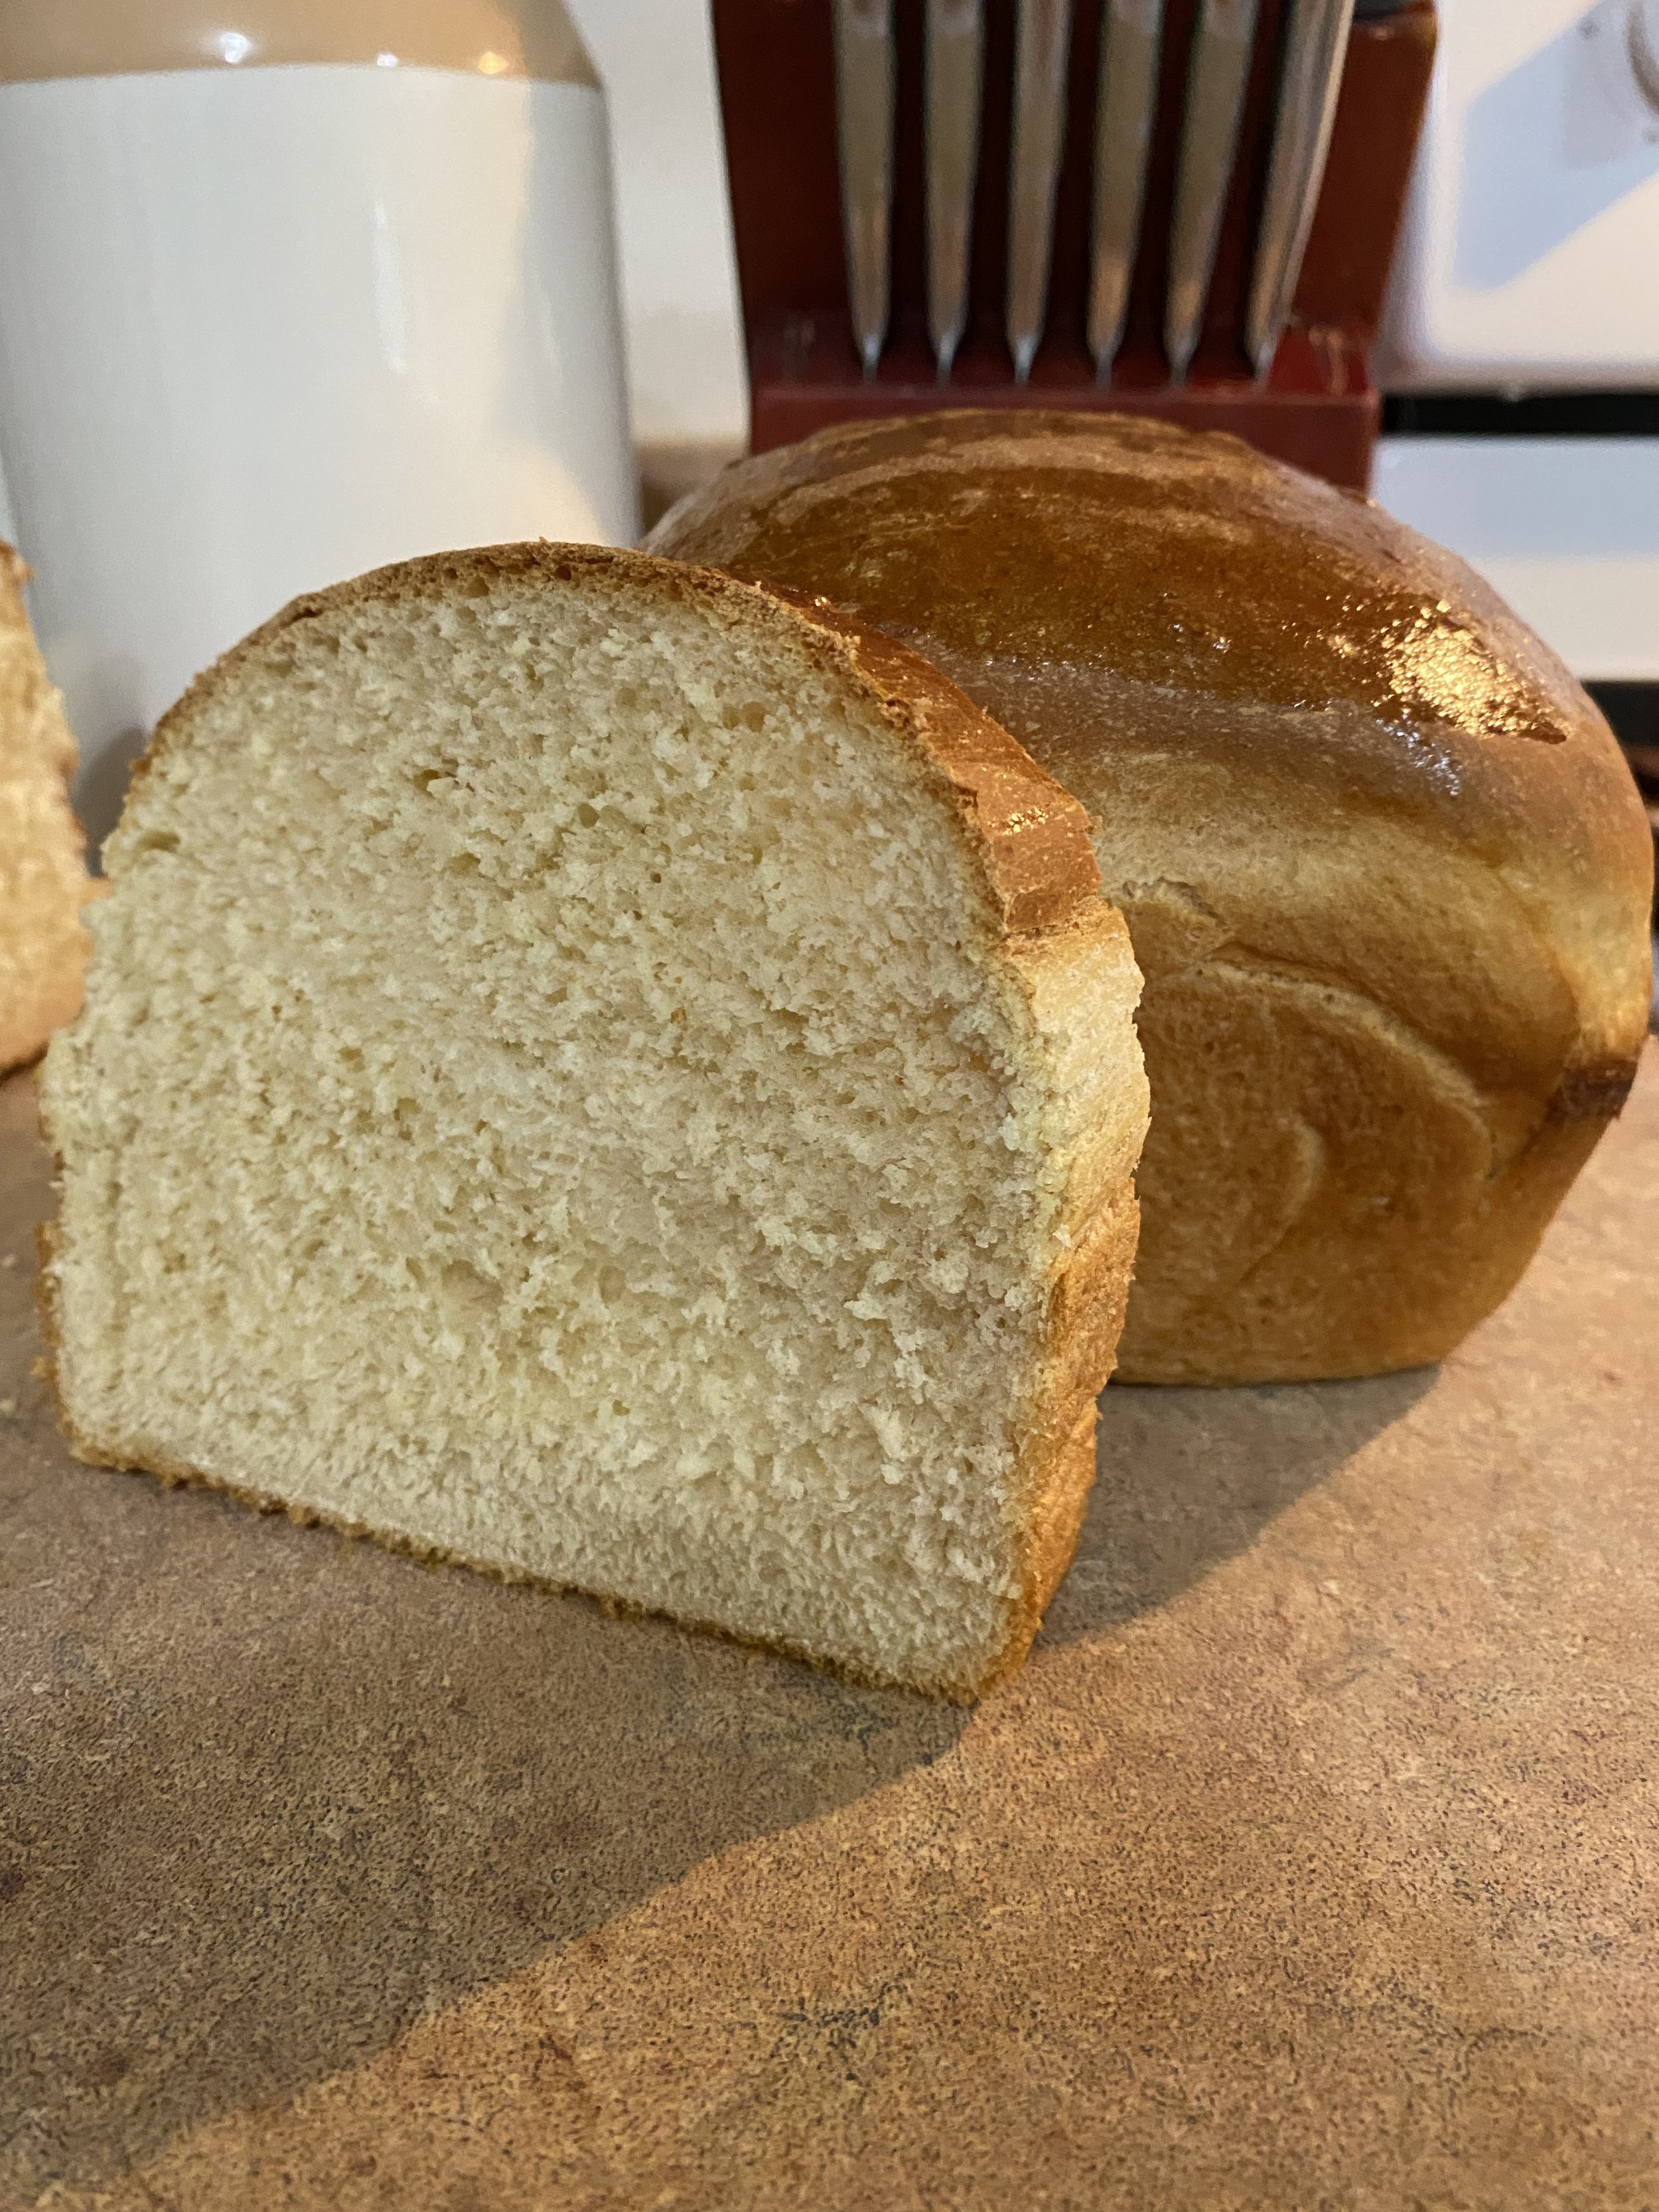
Sourdough Discard Sandwich Bread
Store-bought bread is not good for you in any way. It’s loaded with low quality flour, seed oils, and so many other harmful ingredients. Dont buy that cheap bread. Make your own with that’s made with simple ingredients and easy to make. This sandwhich bread is a weekly make in my home and my kids gobble it up everytime. Its soft, light, and tastes even better than the store-bought bread weve all gotten way to used to eating.
Note- If you dont have sourdough starter I suggest getting an already active starter. Its super easy to manage! Get that HERE
Homemade bread is not time consuming or difficult to make! Follow my step by step process and you’ll be making this bread every week!
Kitchen Items Needed:
Medium and Large Glass Mixing Bowls
Measuring cups & spoons
Rubber Spatula
Whisk
Small Pot
9x5 loaf pan
Plastic wrap or Dish Towel
Ingredients:
2 1/4 Cups All Purpose Flour
1/2 Cup Whole Wheat Flour
1 tsp Salt
1 Egg
3 Tablespoons Soft Butter
2/3 Cup Whole Milk
3 Tablespoons Sugar/Honey
1/3 Cup Un-fed Sourdough Discard
1 Packet Instant Yeast
Instructions:
(photos below)
Bloom the yeast (5 minutes) in warm milk and sugar (110 degrees) * If you dont have a thermometer you can check if the temperature is good if it is warm enough to hold your finger in the milk, but not hot enough to be uncomfortable.
Meanwhile, mix discard and egg in a small bowl. Once yeast mixture is bubbly you can add that to the bowl and mix until combined.
In a large mixing bowl mix together the flours and salt.
Add in the discard, milk, and egg mixture into the flours until all the flour is mixed in and turns into a shaggy dough.
Mix the soft butter into the dough, scruching the dough togehter with your hands, until the butter is incorporated.
Cover dough with plastic wrap or a clean towel and let it sit for 15 minutes.
When dough is finished resting, lightly flour your work surface and knead the dough for roughly 5 minutes. *The key to kneading is folding the dough onto itself then pressing it into itself, over and over again until the dough is smooth and not sticky.
Place in a buttered mixing bowl and cover for 1-2 hours or until doubled.
Meanwhile, butter a 9x4 loaf pan and set aside.
Once doubled, punch the dough down until the air is removed and place it onto a lightly floured worksurface.
Cut the dough in half and roughly shape them into 9x4 rectangles.
Roll each rectangle into a log and place each seam side down and side by side into your loaf pan.
Cover with the plastic wrap/towel you used before and let it rise 45 min-1 hour or until dough rises 1 inch over the loaf pan.
Shortly before the dough is risen, preheat your oven to 375.
Place pan on middle rack and let it bake 30-35 minutes.
Once it is done, place pan onto a wire rack to cool.
Once cool, slice and serve!
Recipe Tips
This bread is good on the countertop for roughly 3 days.
You can refrigerate for longer use, up to a week
You can freeze this bread if you plan on making bigger batches


